Step 1
Quote & Booking
Send your details or photos for a clear quote. We'll help you choose the right flake design and schedule your installation at a suitable time.

A step-by-step process designed to ensure strong adhesion, durability, and a professional finish.
Send your details or photos for a clear quote. We'll help you choose the right flake design and schedule your installation at a suitable time.
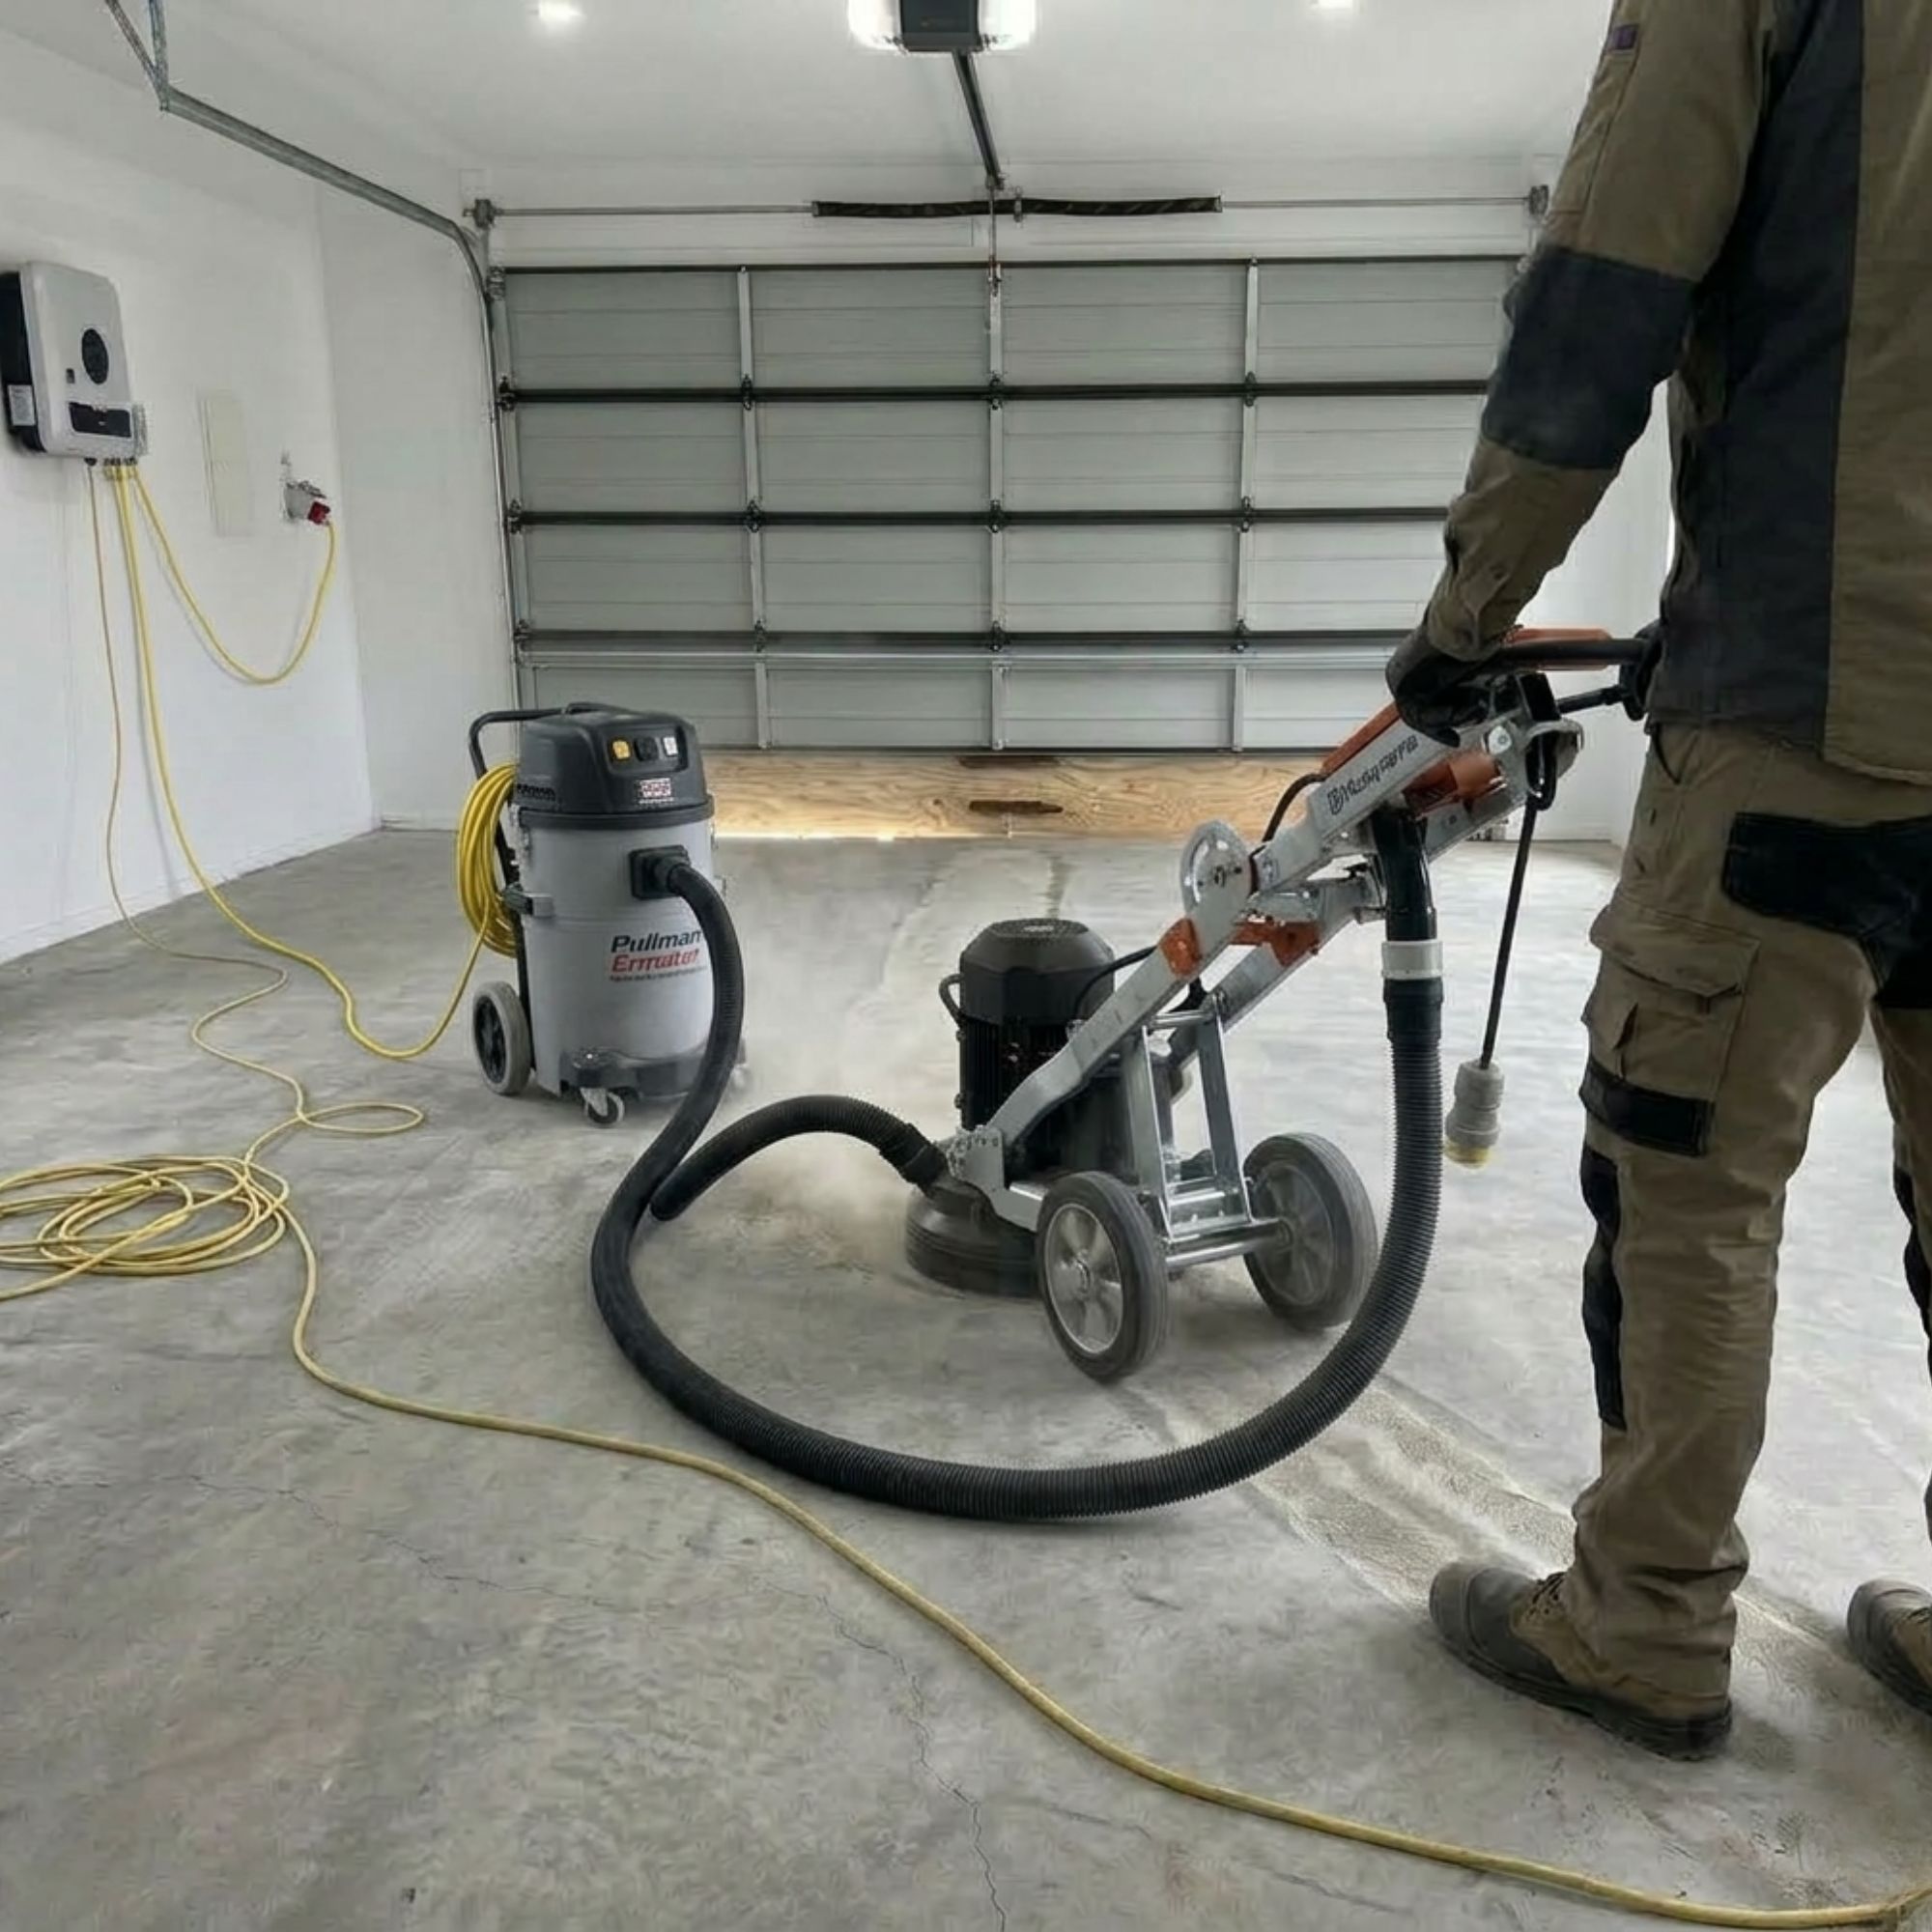
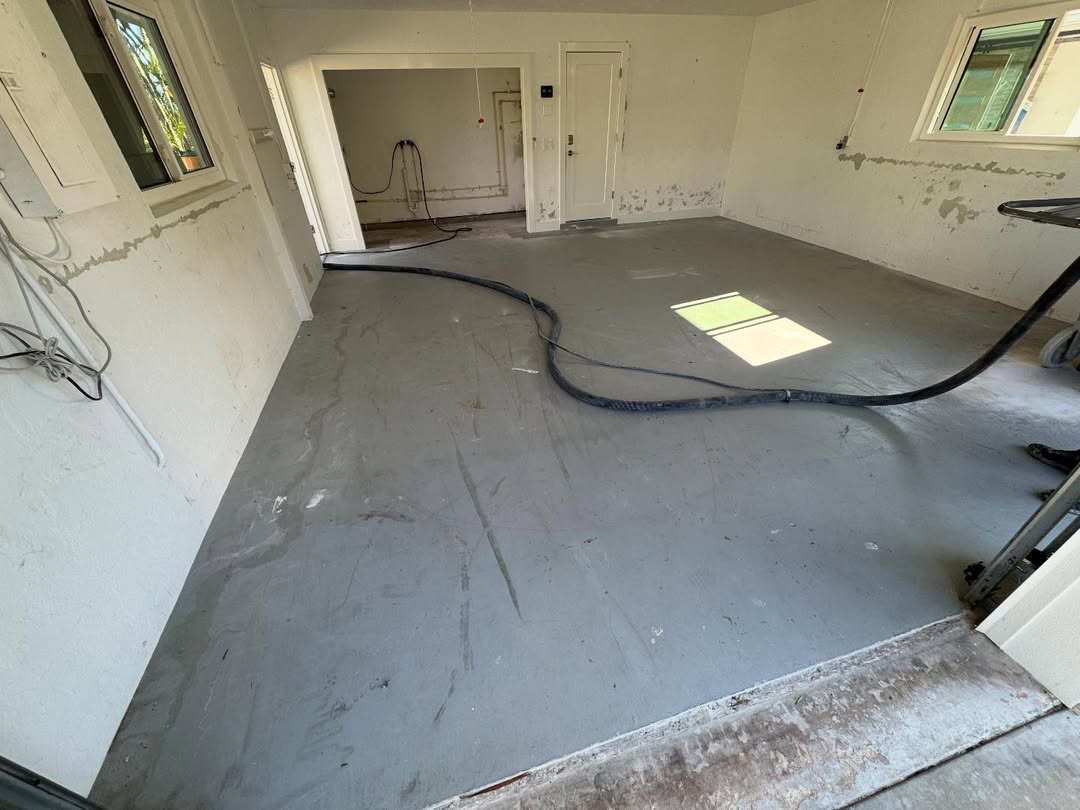
We grind the surface using professional equipment to remove old coatings, stains, and imperfections. This step is essential to create a strong base for proper epoxy bonding.
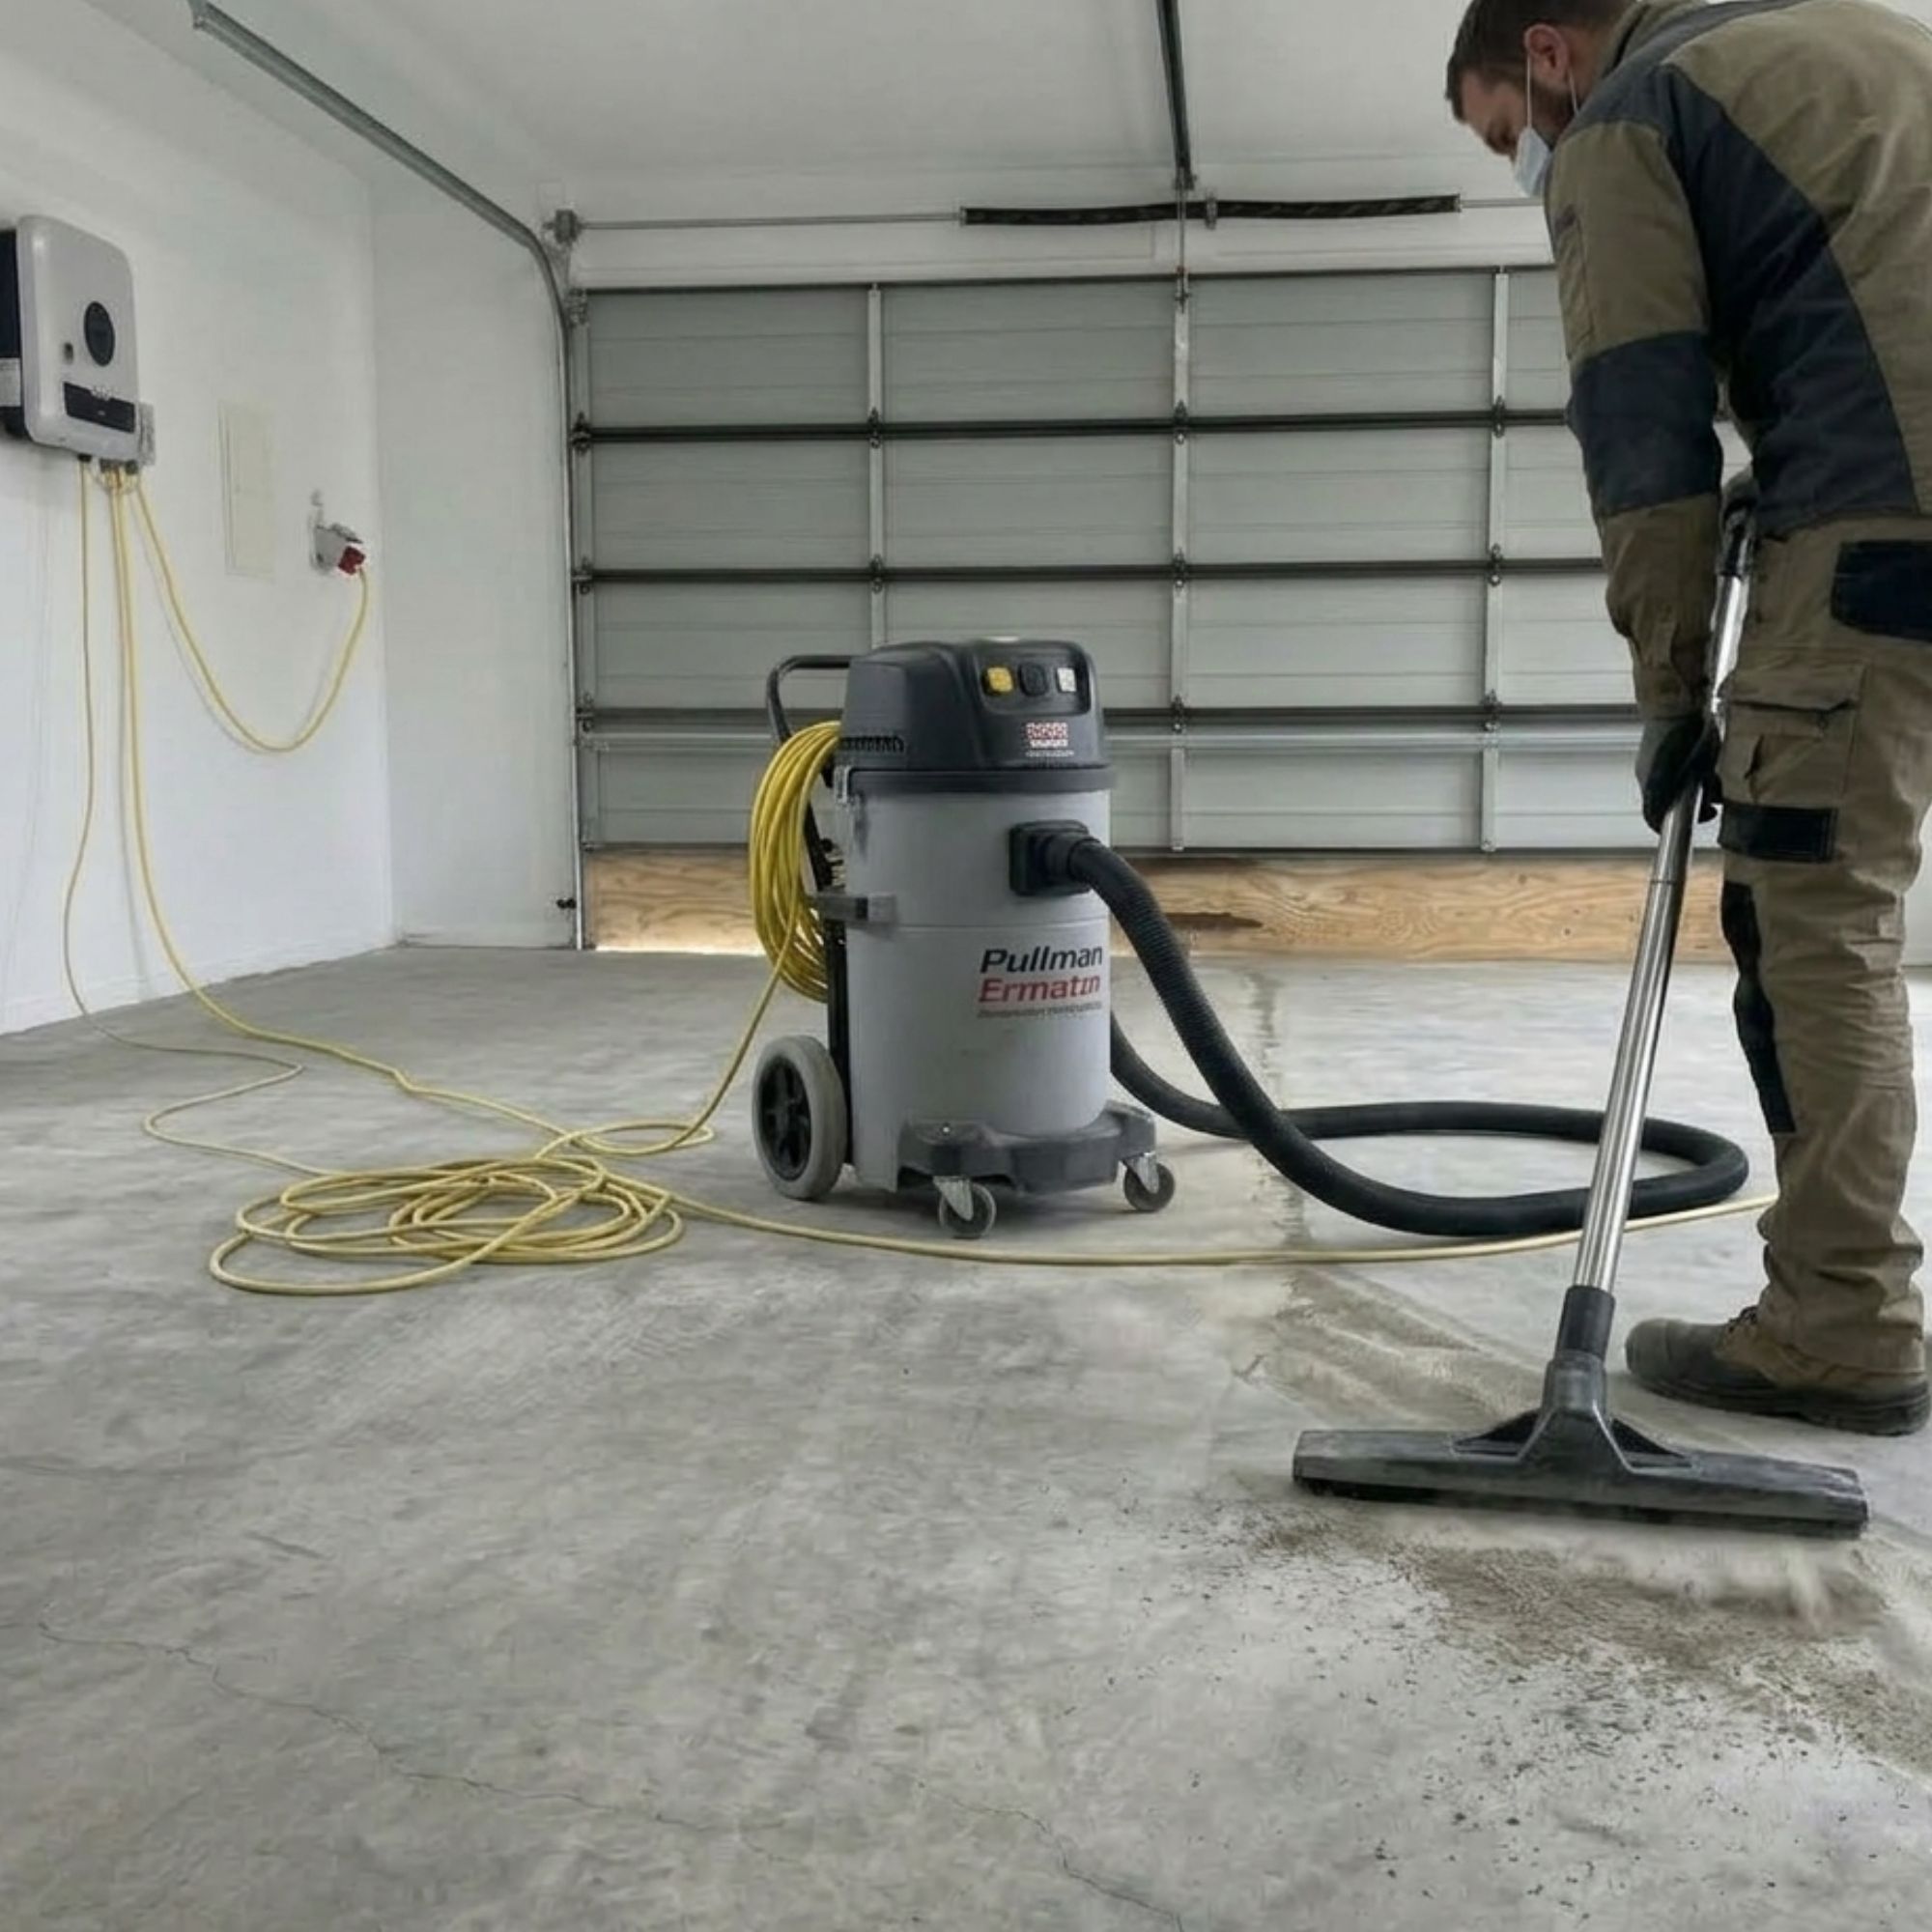
After grinding, the entire floor is thoroughly vacuumed to remove dust and debris. A clean surface is critical for a smooth and long-lasting epoxy finish.
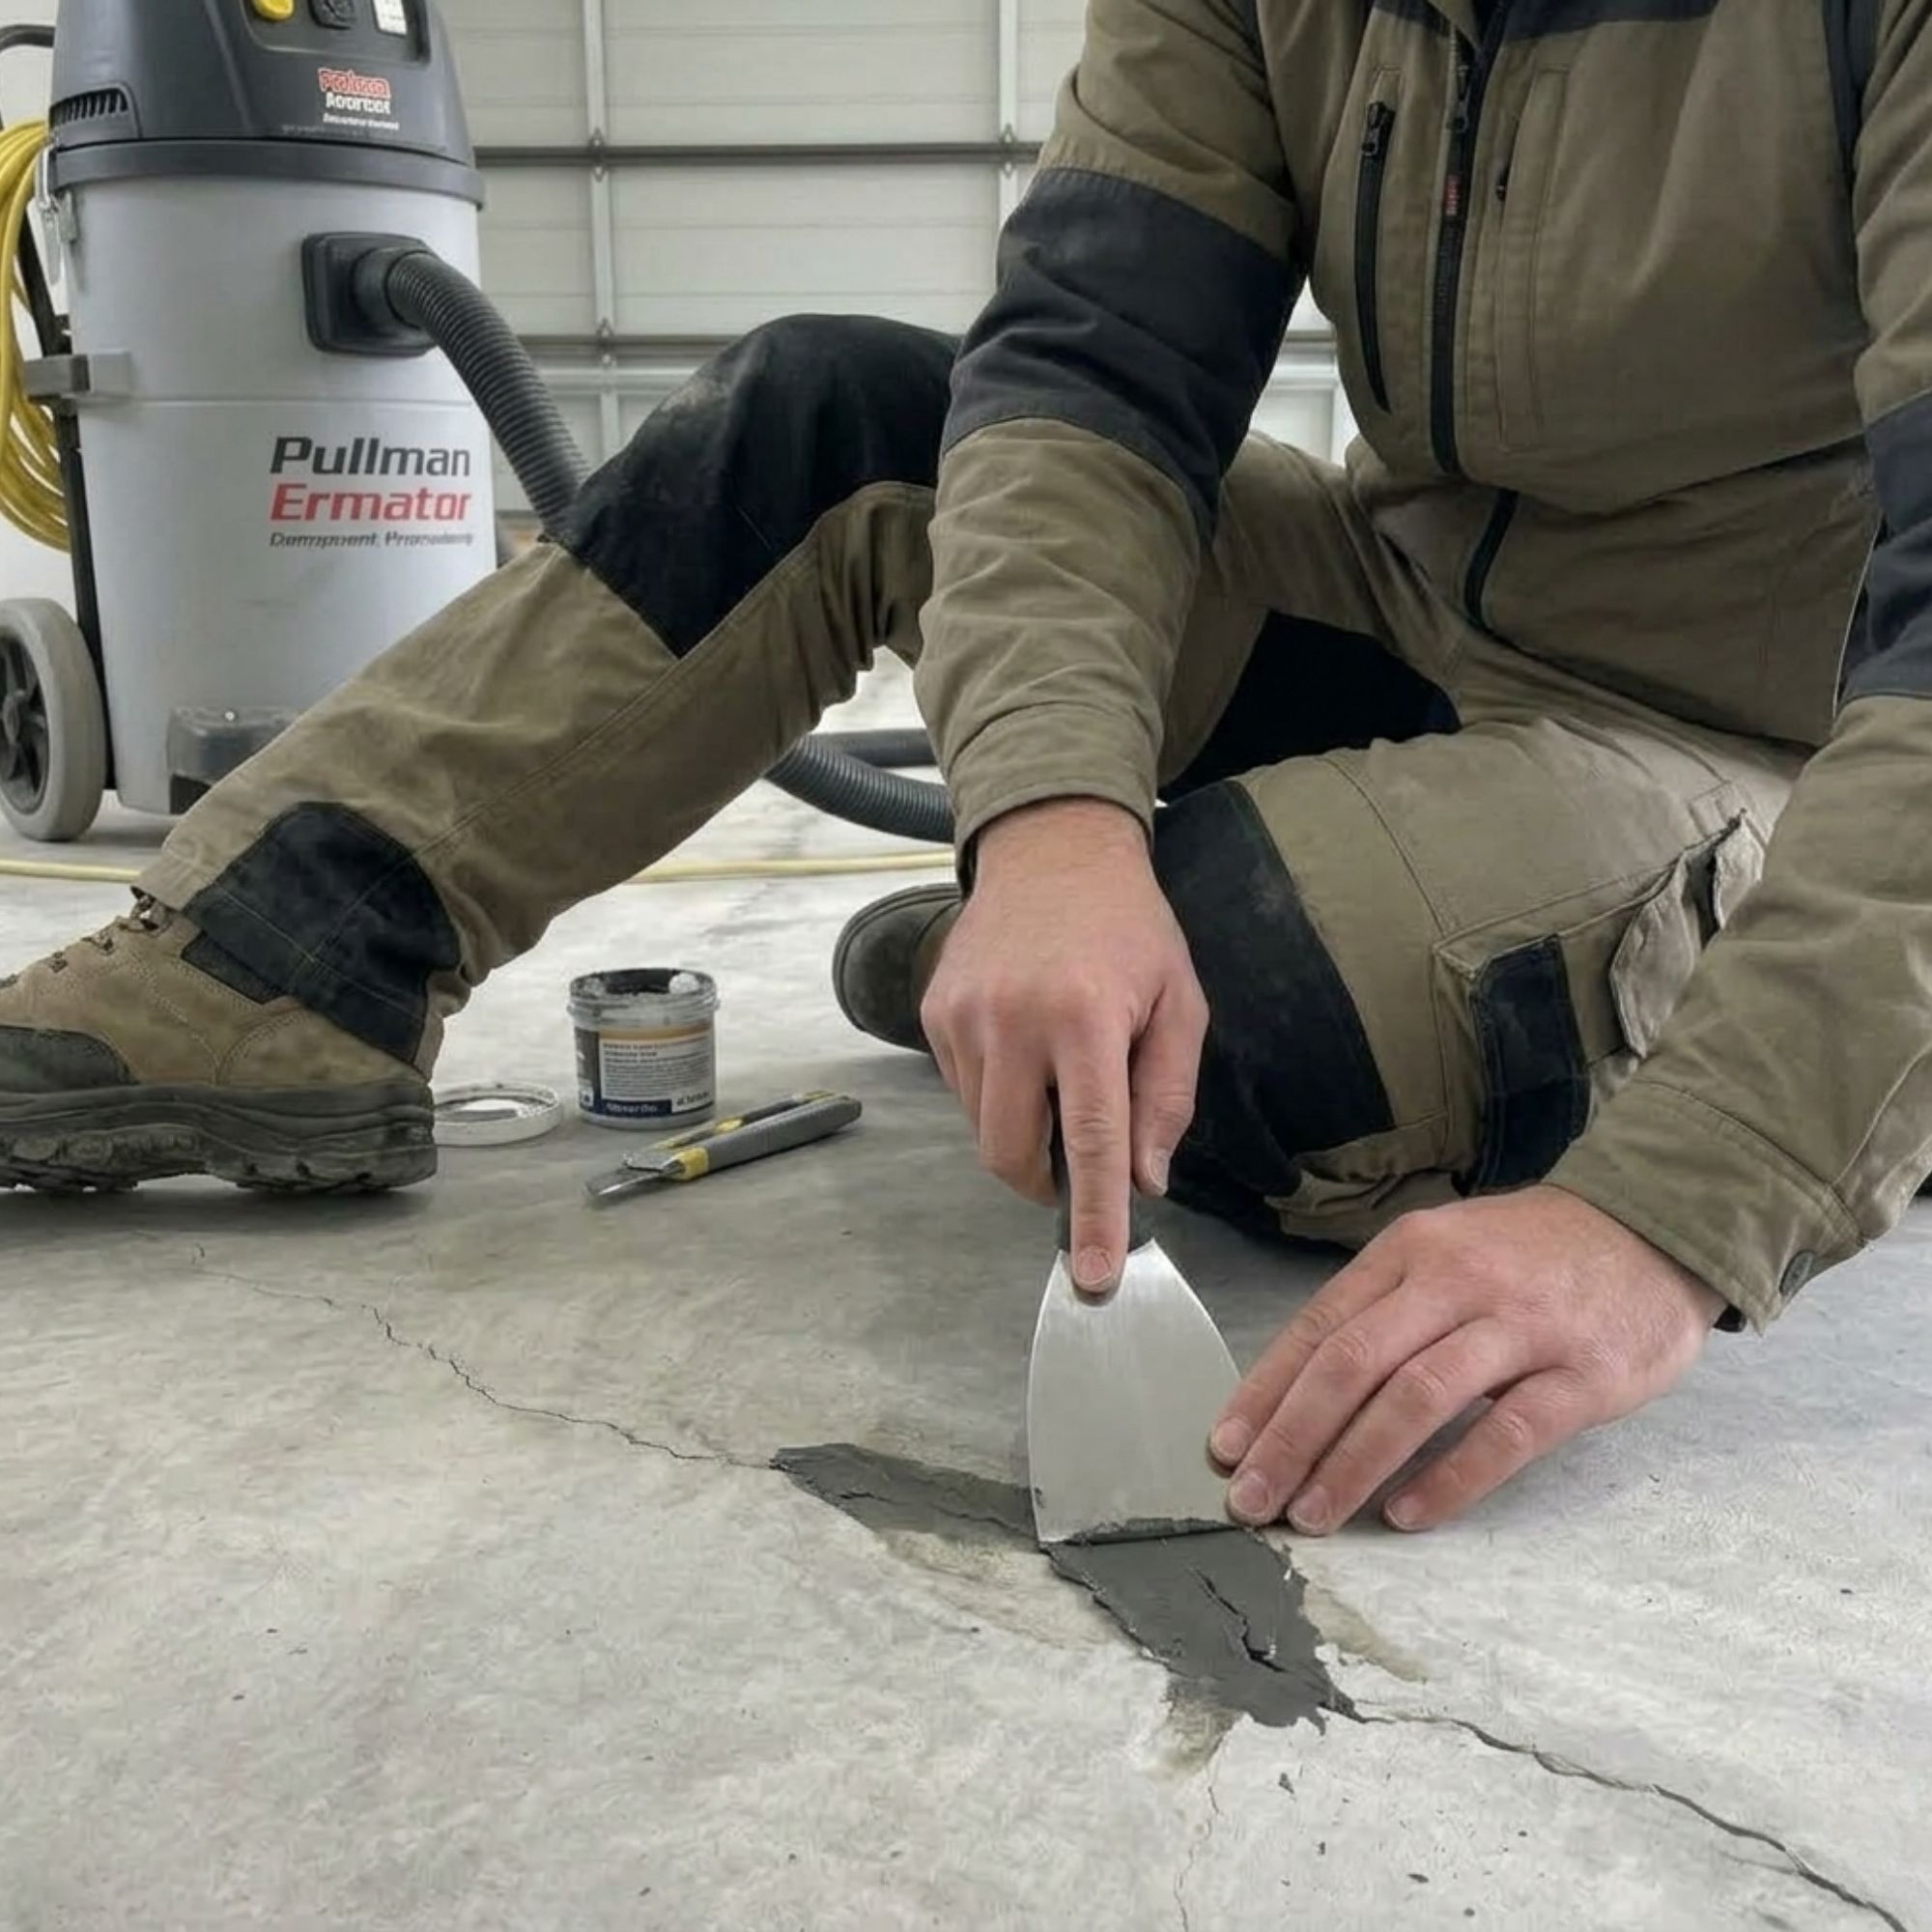
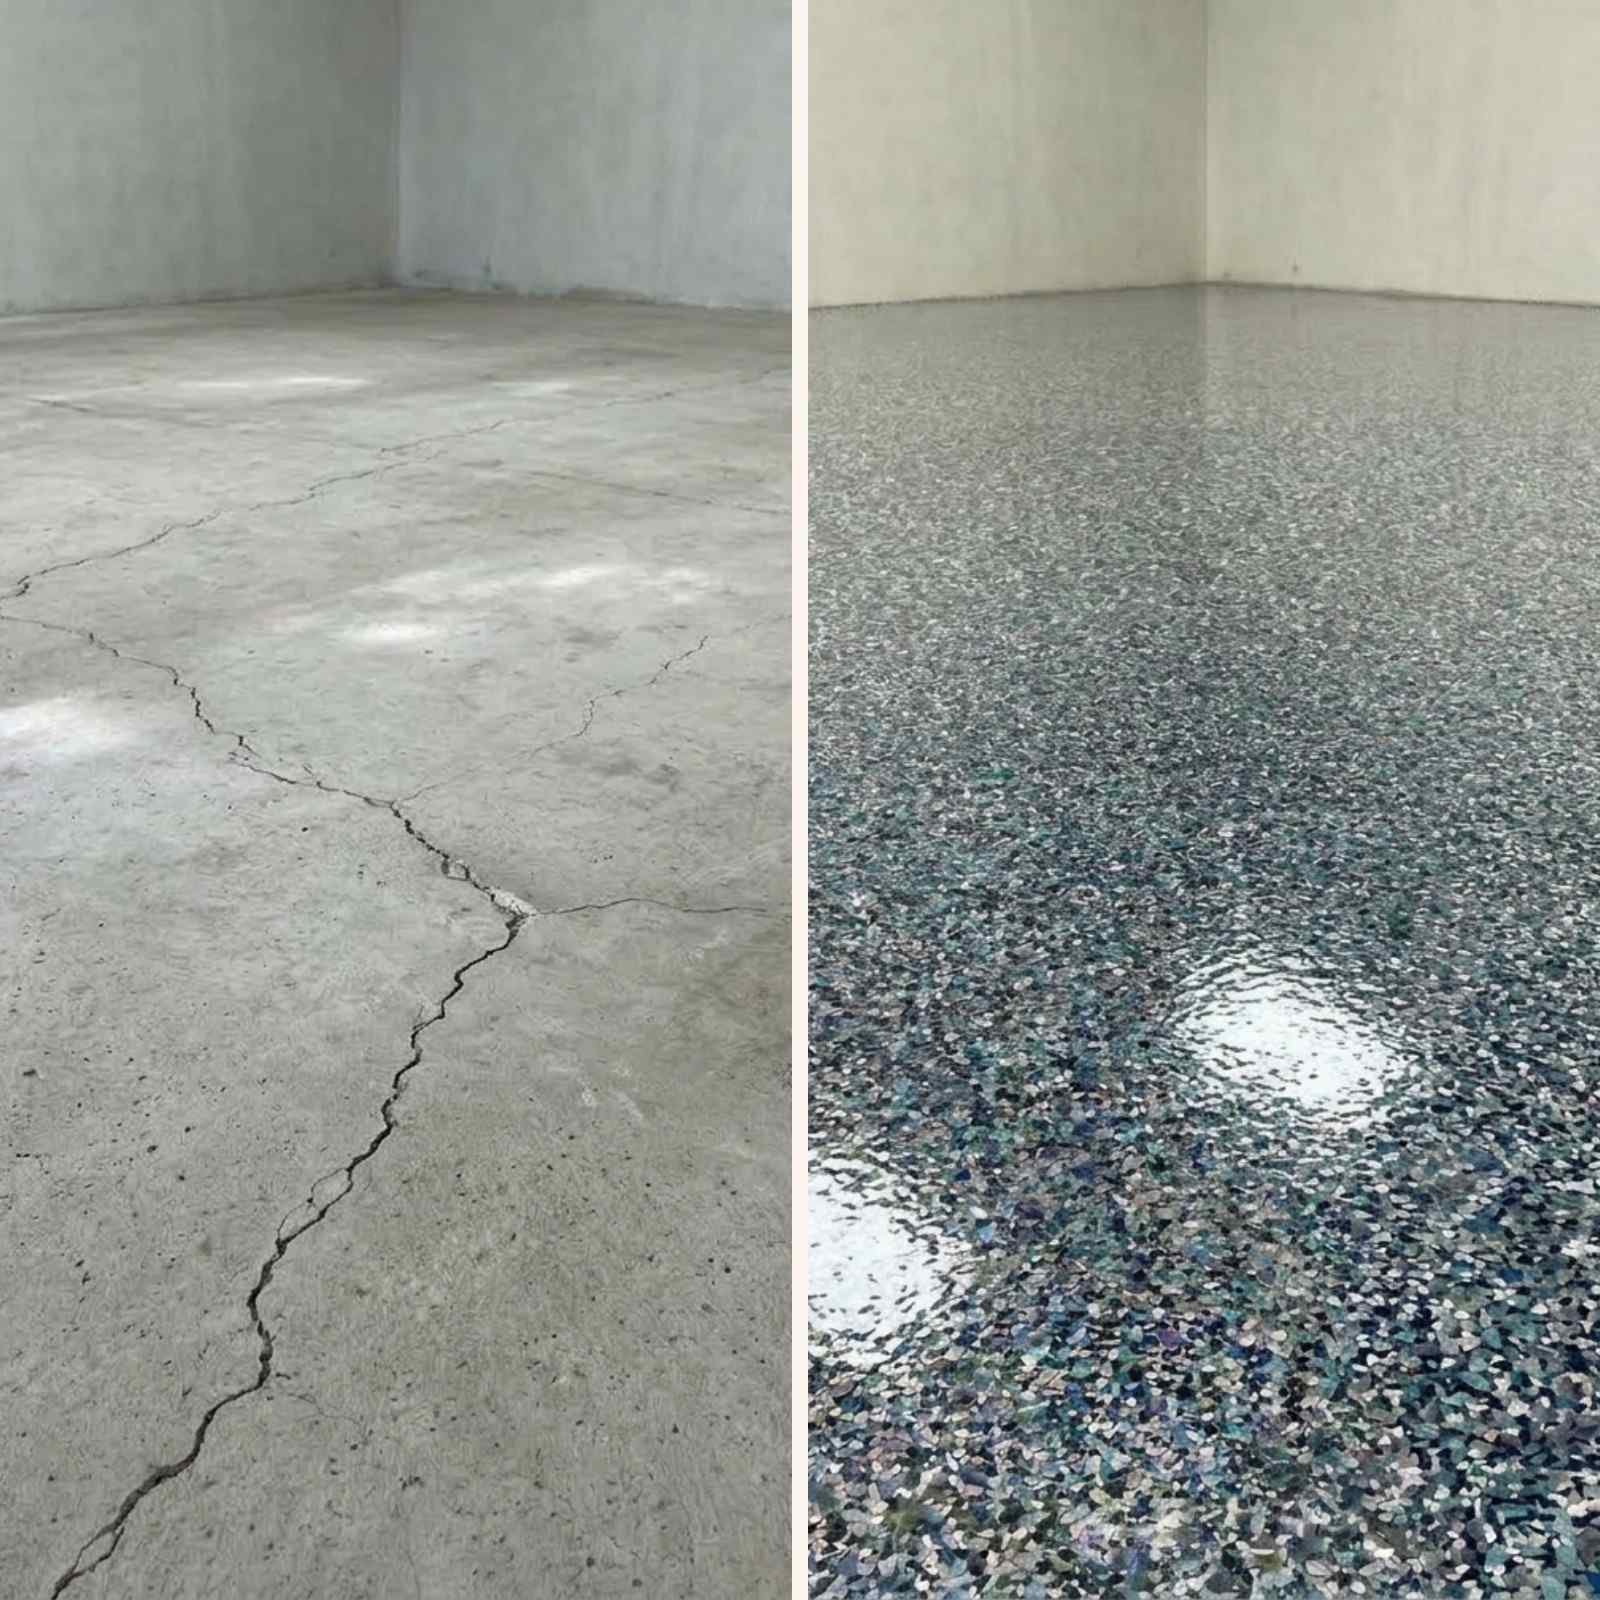
We repair cracks, dents, and surface damage to create a level and even base. This ensures the final finish looks clean and professional.
A high-quality epoxy base coat is applied evenly across the surface. This forms the foundation of the flooring system and ensures strong adhesion.

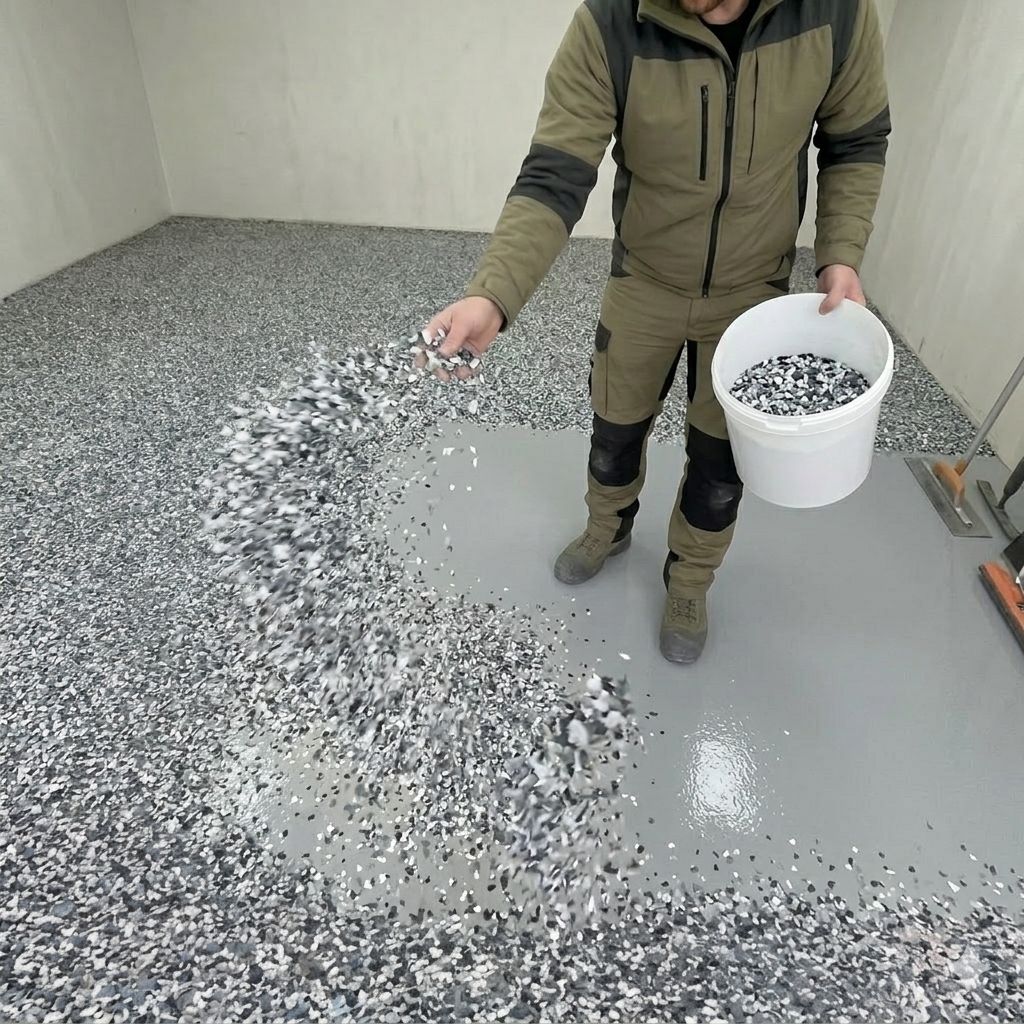
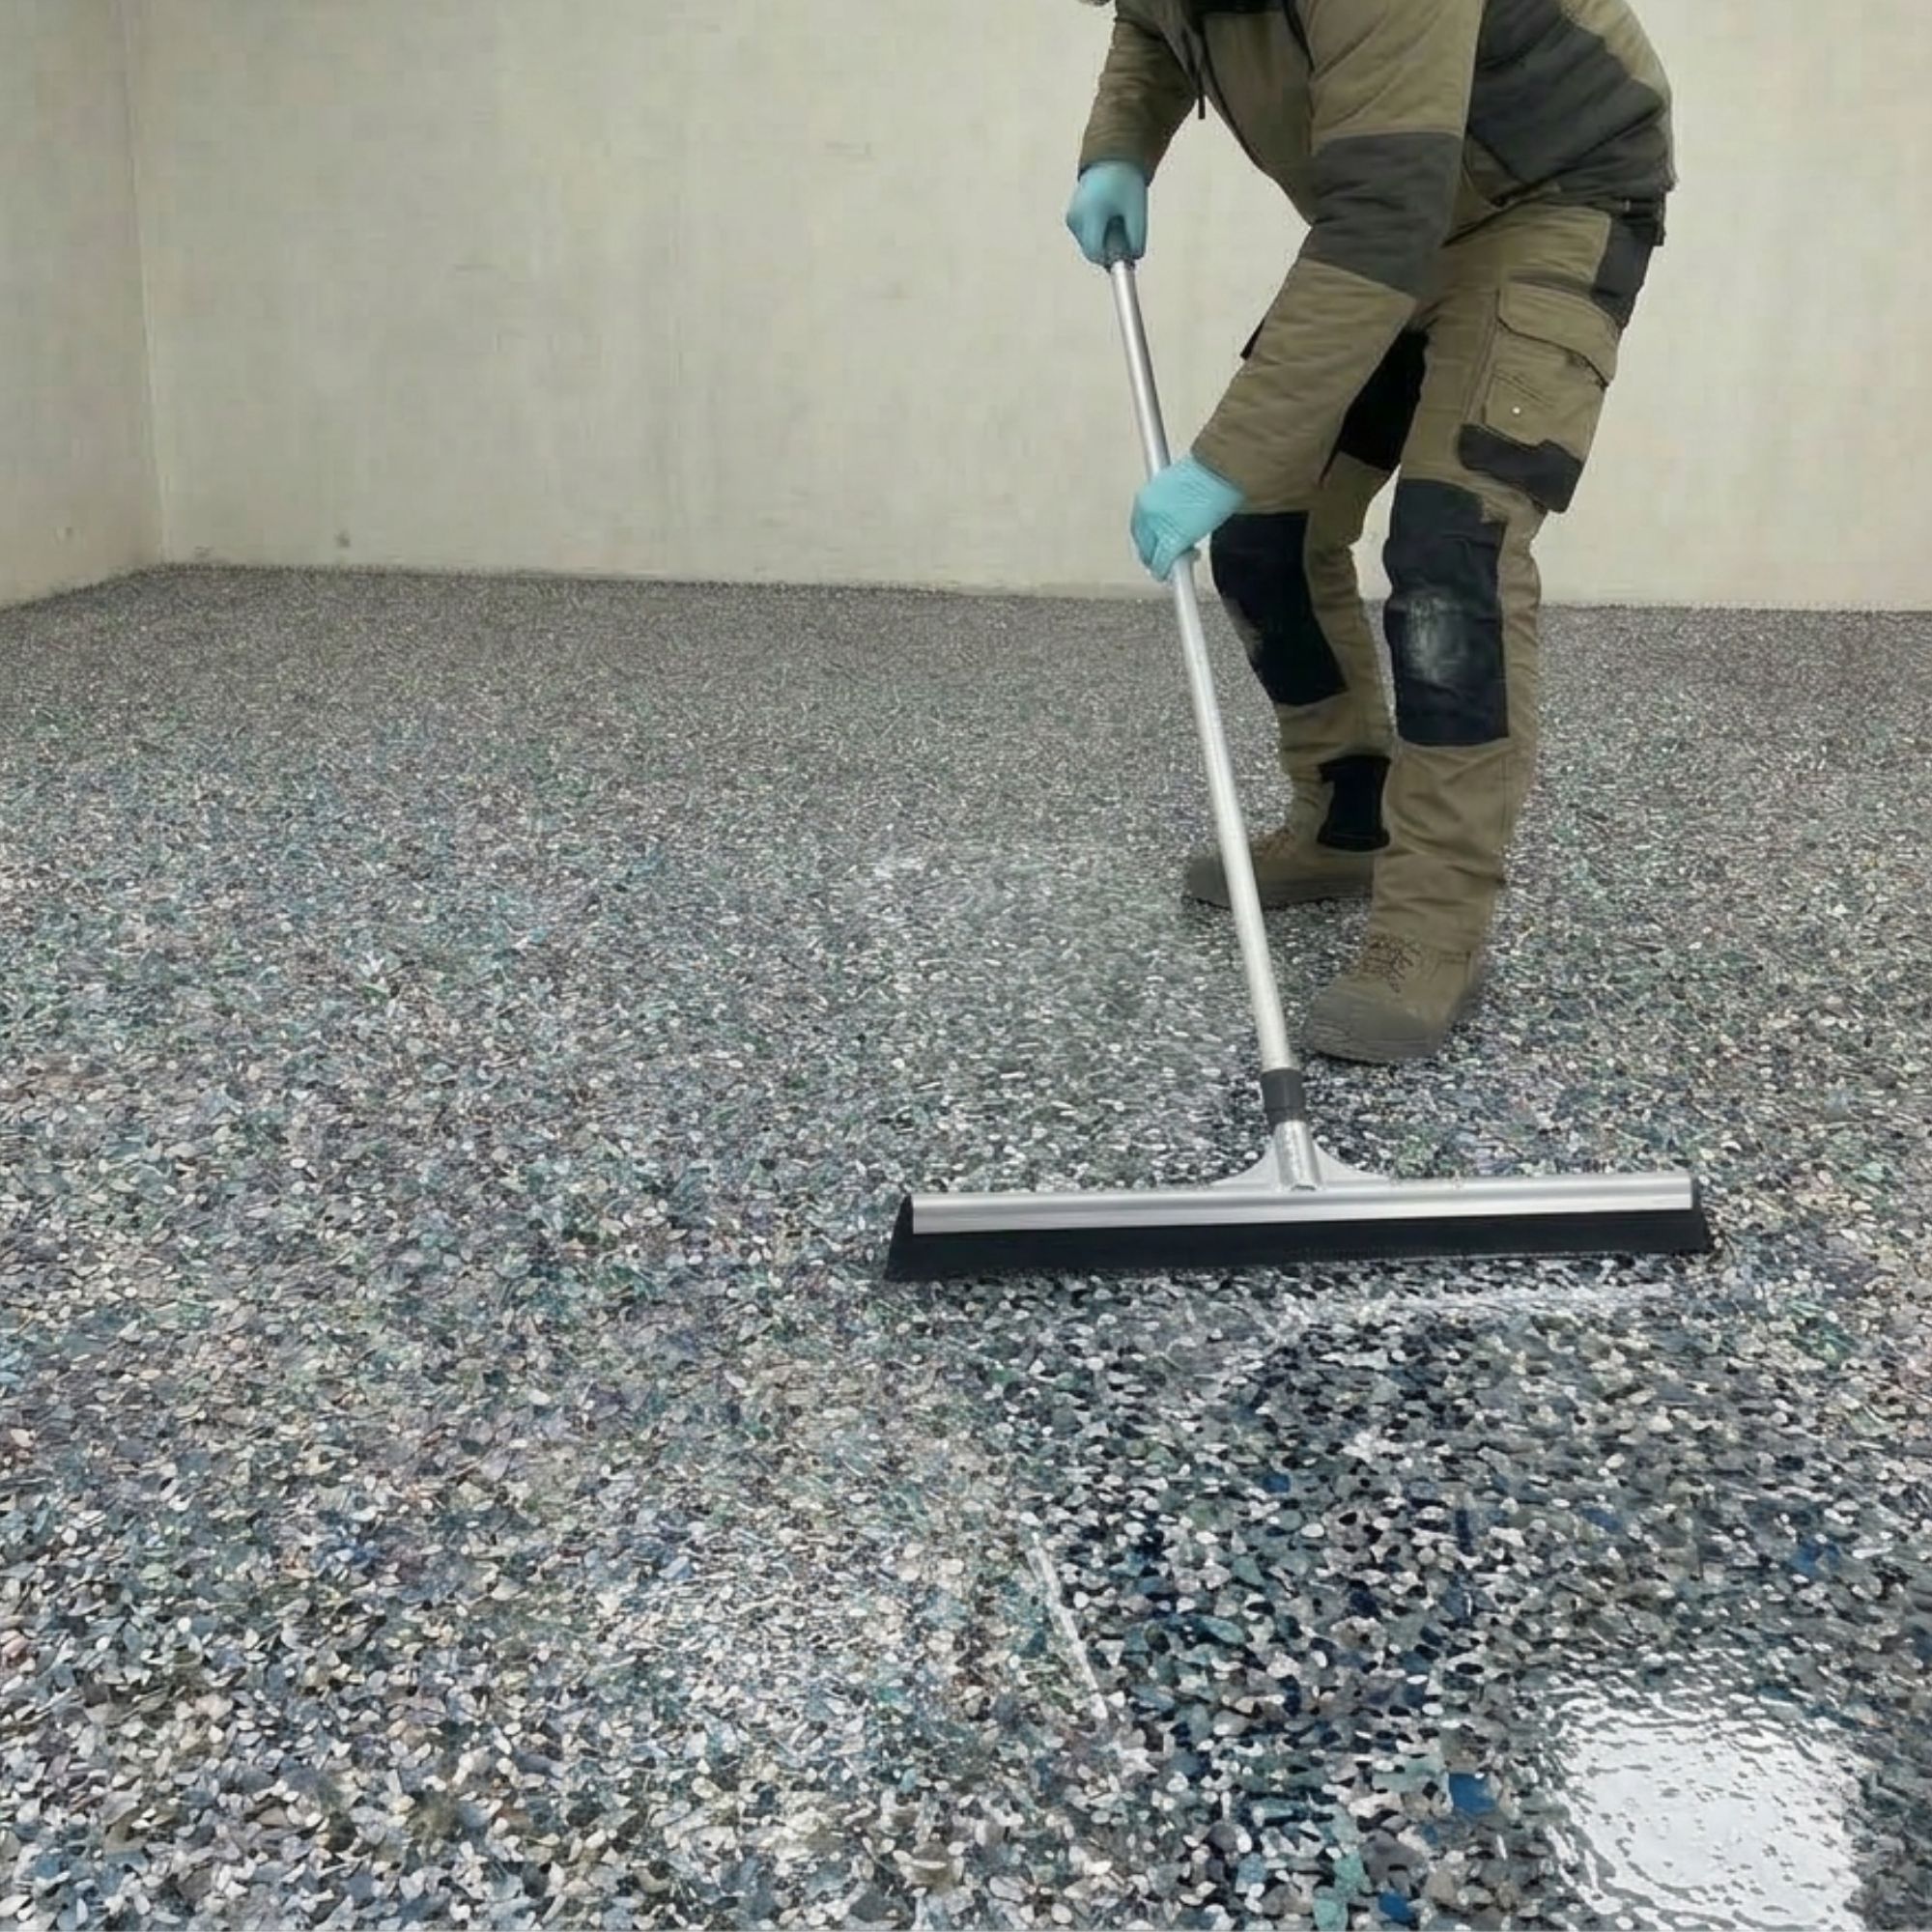
Decorative flakes are evenly applied to add texture, improve durability, and give the floor a modern and stylish appearance.
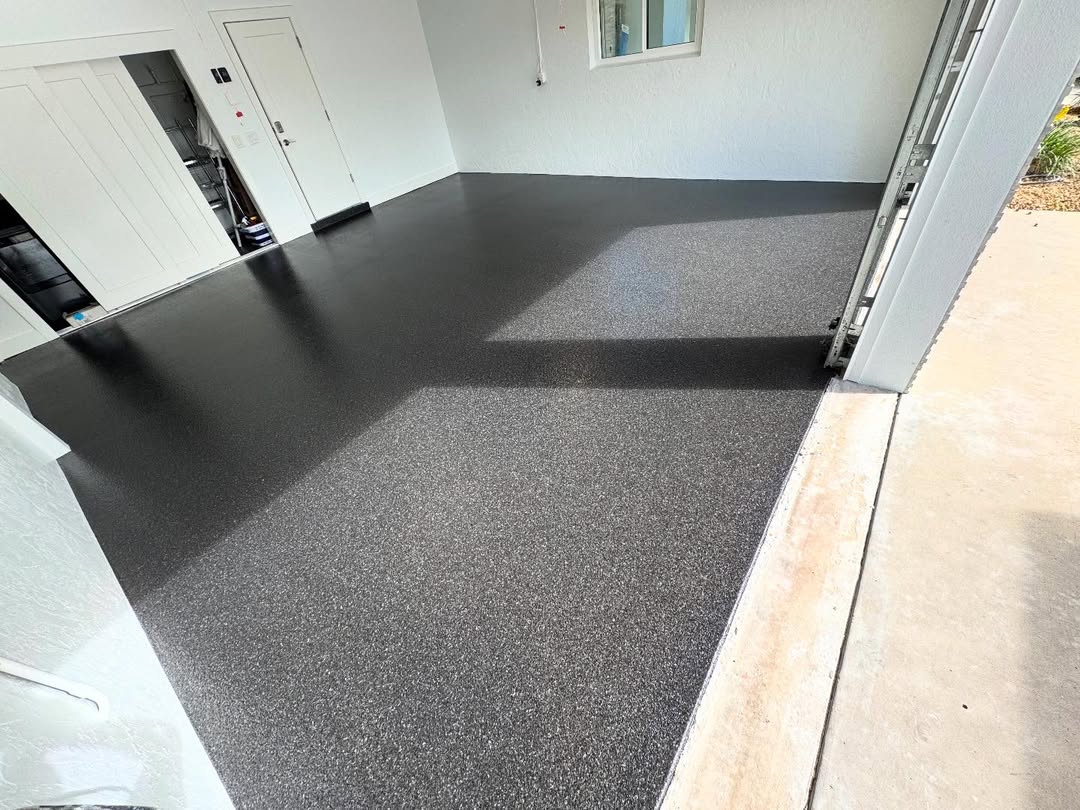
A protective topcoat is applied to seal the surface, enhance durability, and provide a smooth, easy-to-maintain finish.
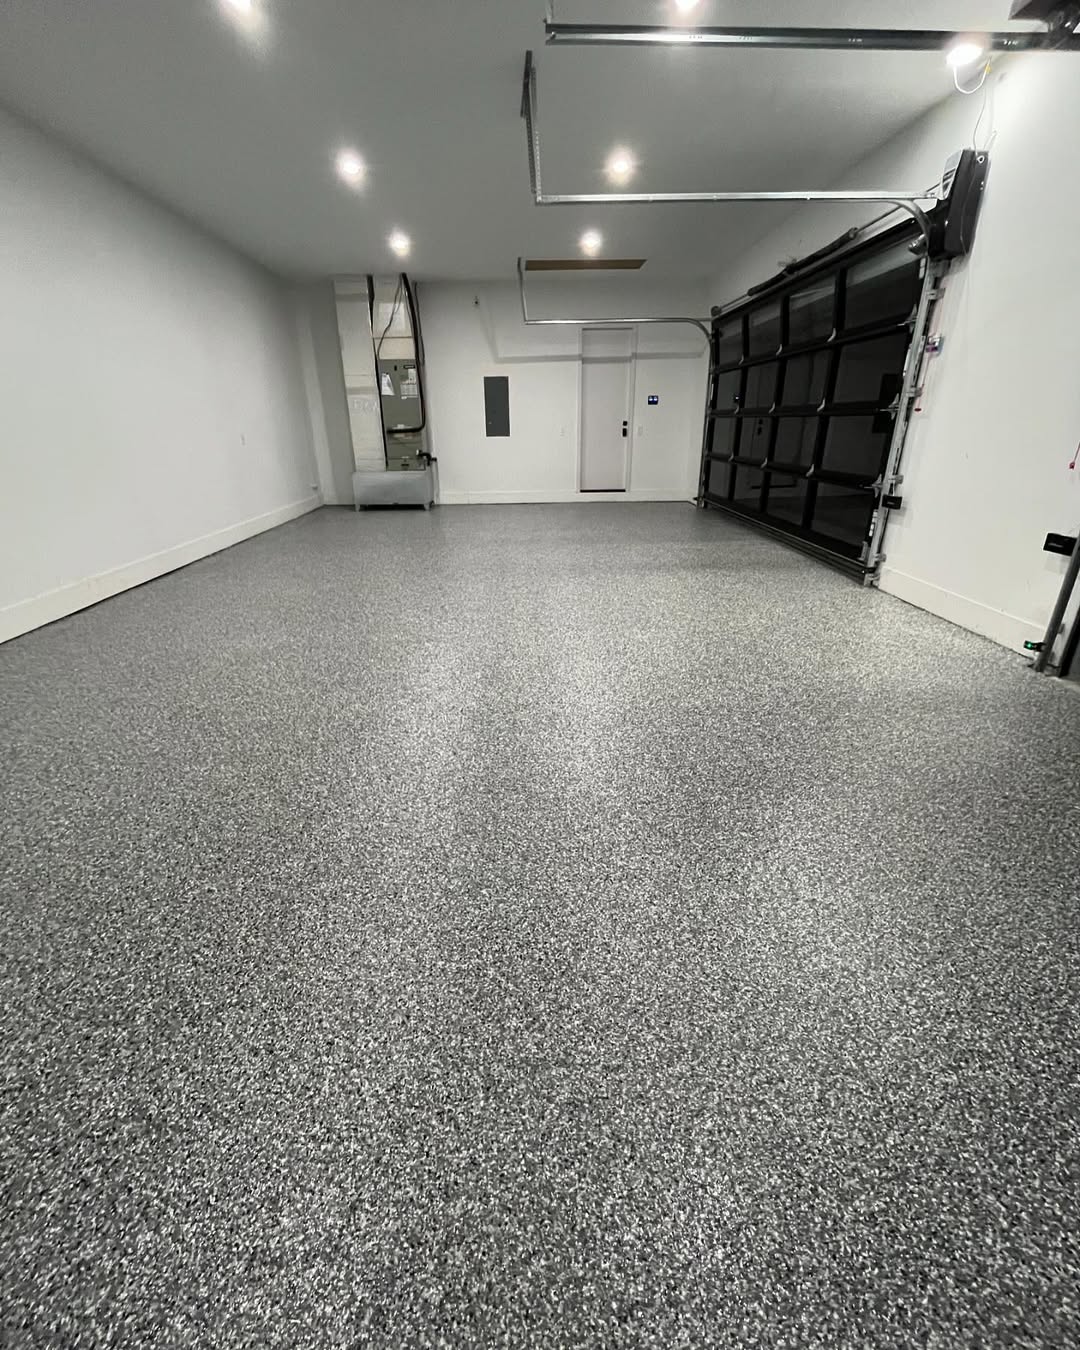
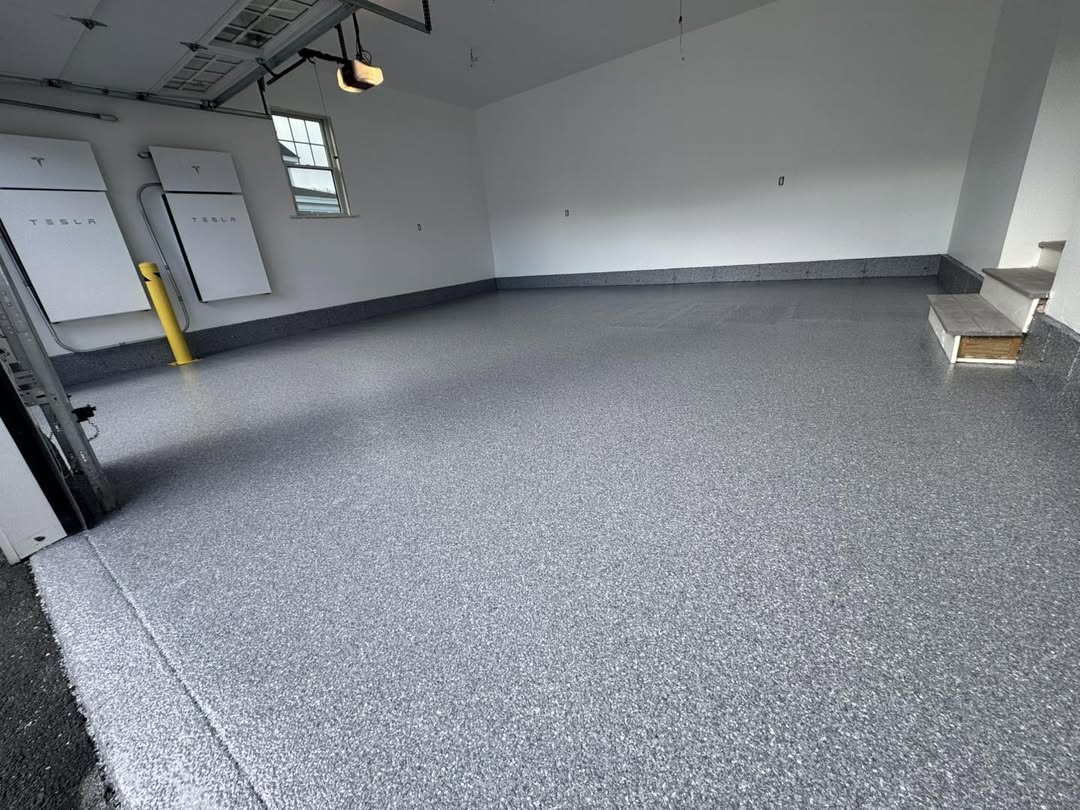
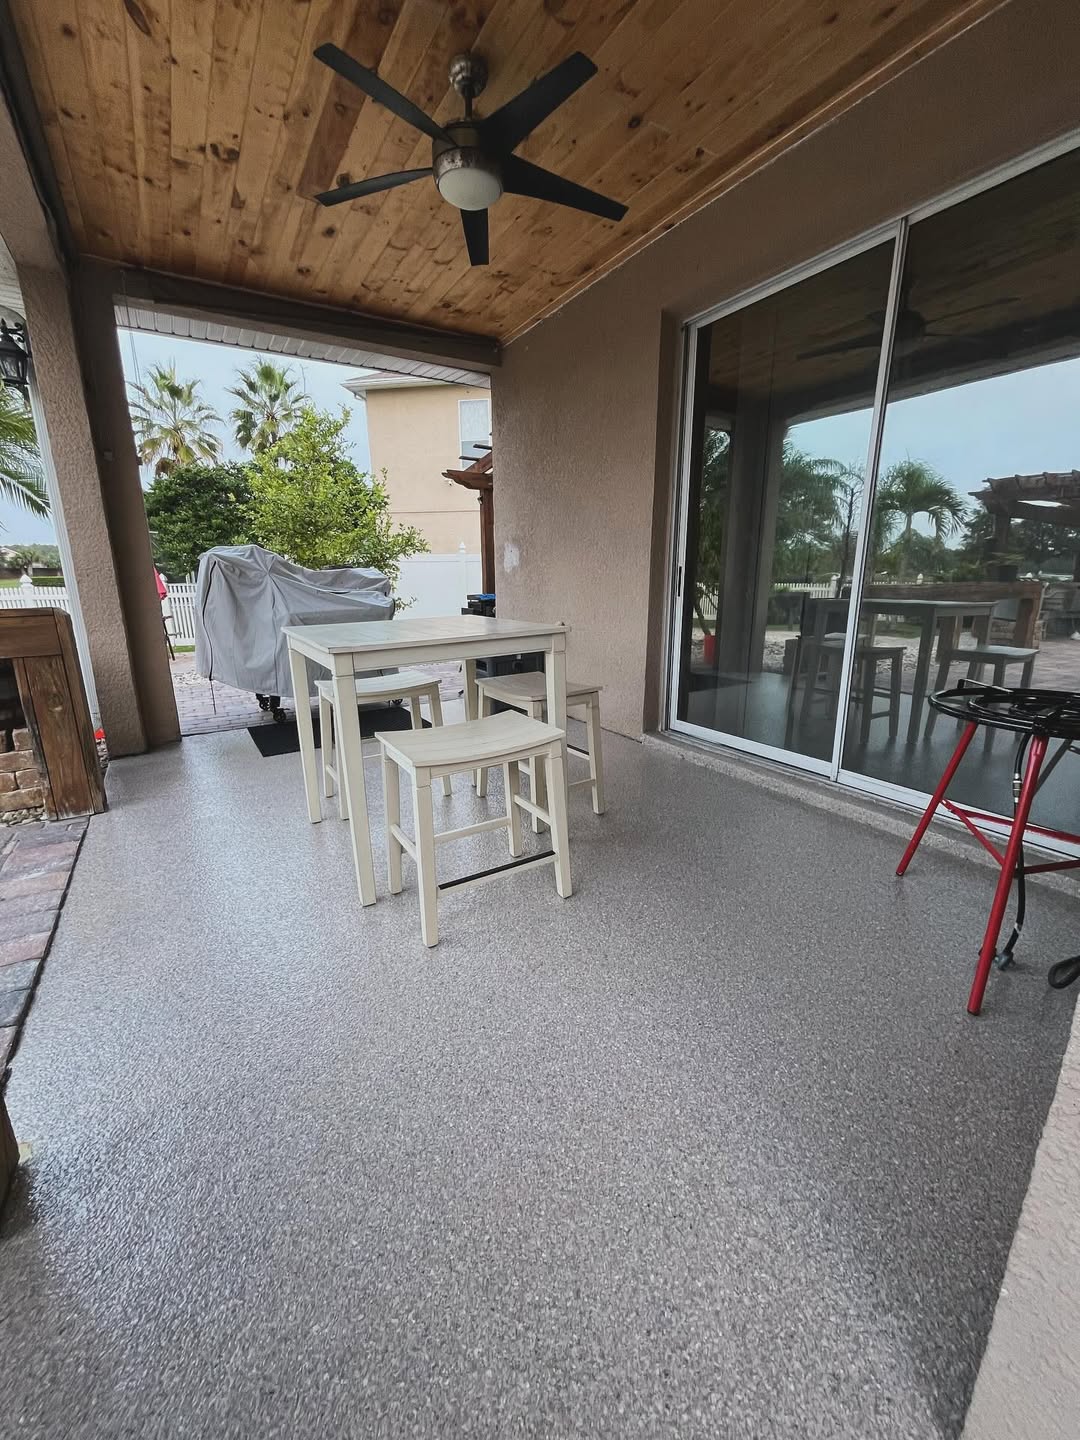
The result is a clean, durable, and visually appealing epoxy floor that transforms your garage space.
Tell us about your space and get a fast, no-obligation quote.
We'll help you choose the right epoxy flooring solution for your needs and budget.
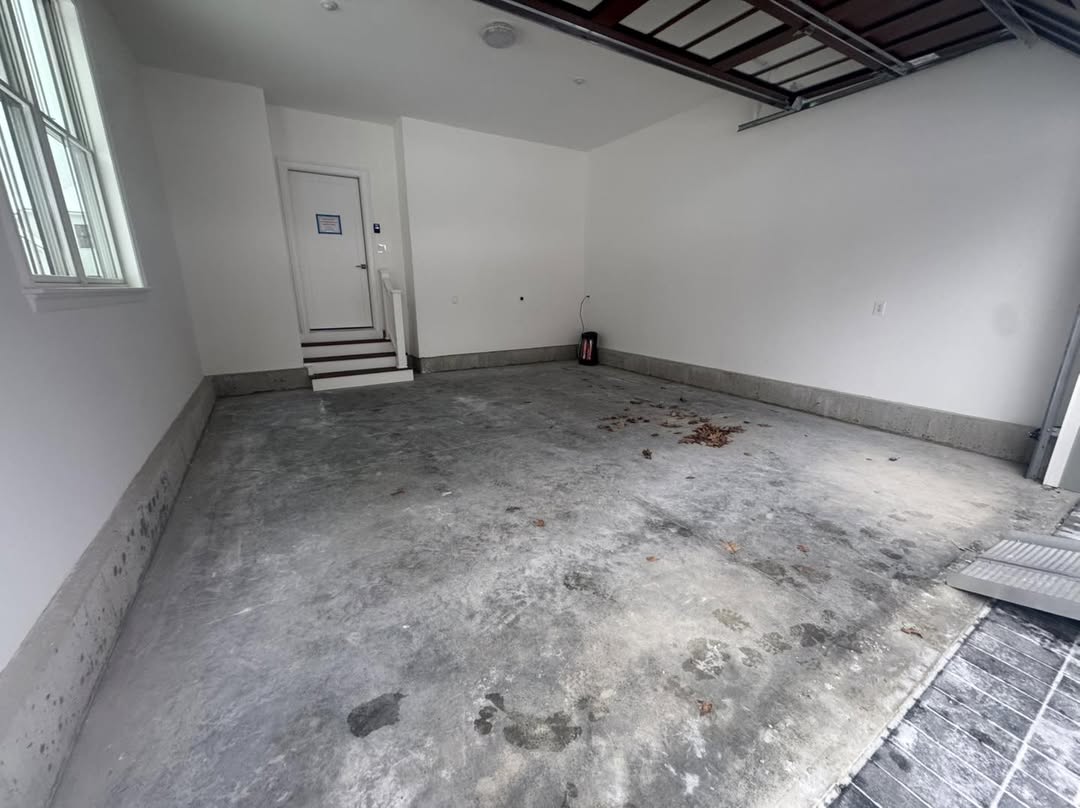
 Before
 After
After
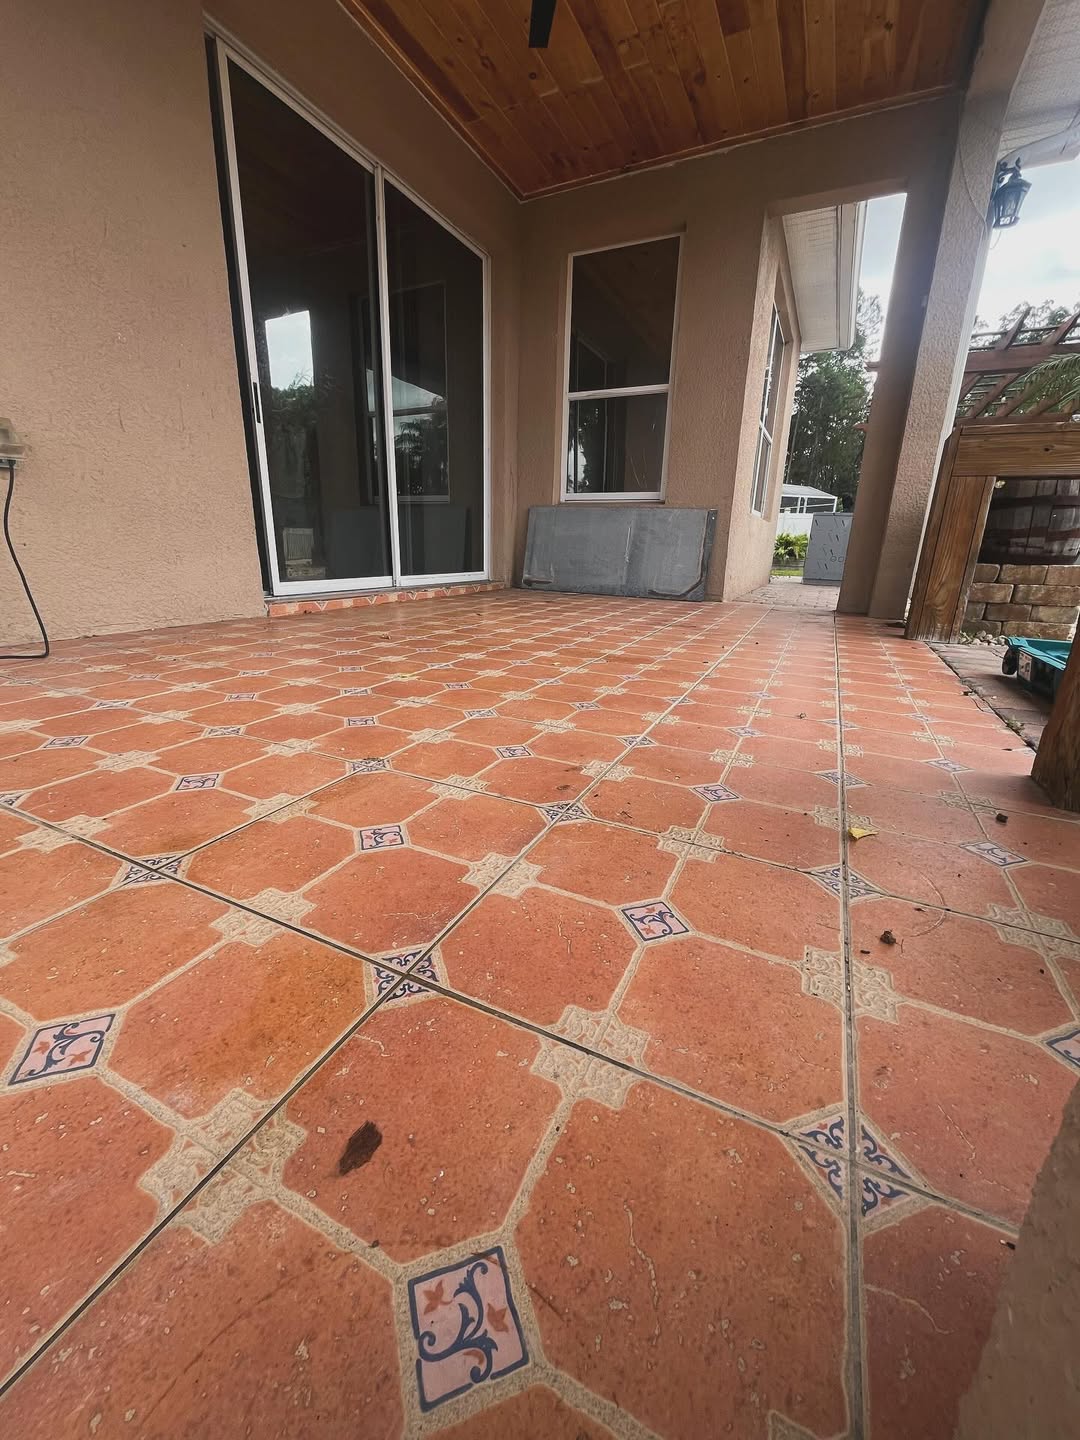
 Before
 After
After
 Before
 After
After
 Before
 After
After
Fill out the quick form below and our team will contact you shortly with a free epoxy flooring quote.